
Finally, the Right Way to Curl Your Hair With a Straightener

I am going to let you in on a little secret. You know how all those girls on IG with perfect beach waves? They're using hair straighteners to get them. I'm not even kidding—a flat iron (!!!) is how they get those bomb-ass waves and curls. But, if you don't know your way around a flat iron, it can be kind of hard to figure out how TF to maneuver your flat iron to through through your hair without messing it up. Don't stress too much about it, though—there are only seven easy steps that you need to figure out to get the Insta-worthy hair of your dreams. And if you don't feel like reading through everything, we have it all in a video for you, here. You're welcome.
Step 1: Spritz your hair with a heat-protectant

Safety first people. Make sure you mist on a heat protectant spray to prevent your hair from getting fried or damaged.
Step 2: On the right side, start curling the hair closest to the nape of your neck
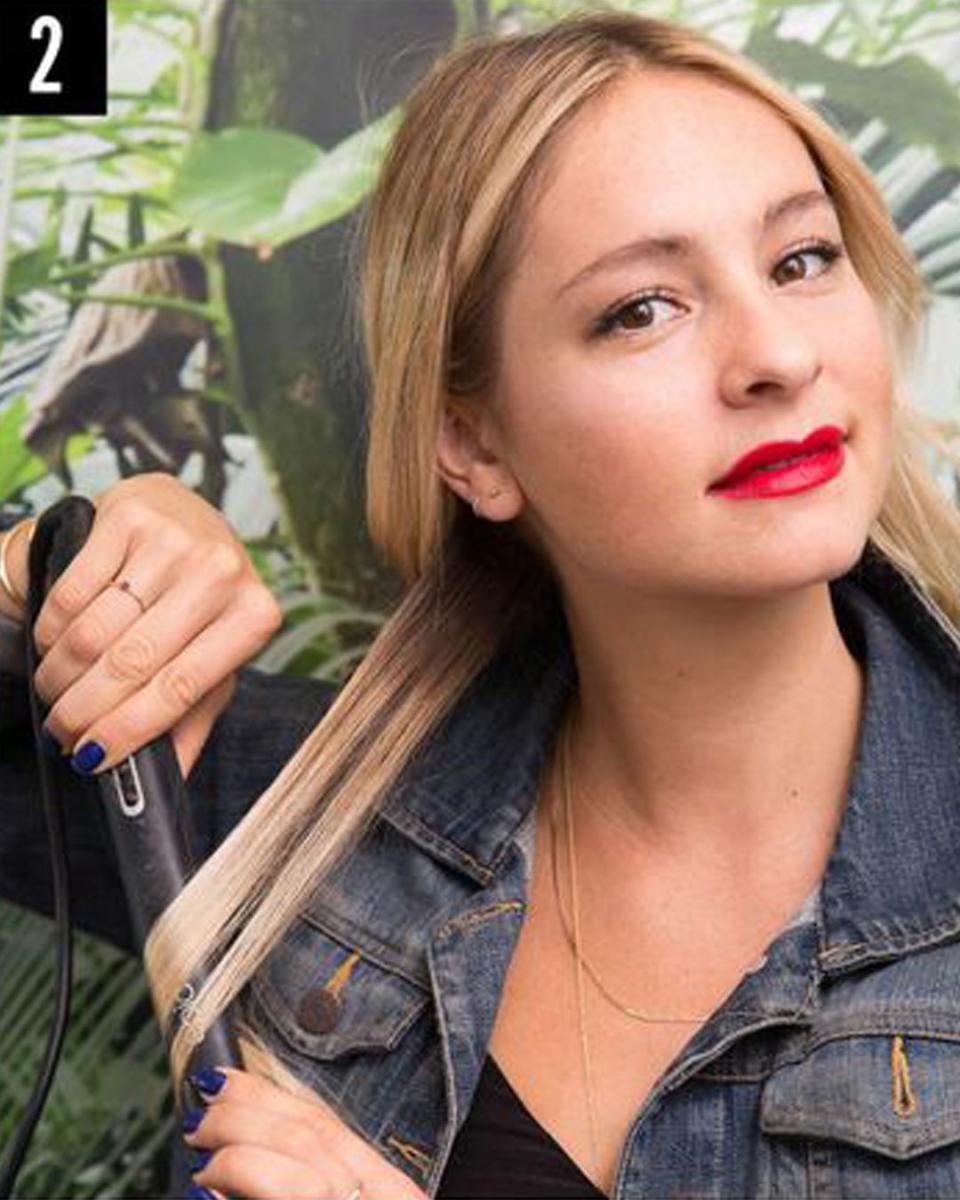
Part a 1-inch section of hair closest to the nape of your neck, and feed the section in between the two clamps of the flat iron. Then, in one fluid motion (or else you'll create a bunch of not-cute crimps in your hair), twist your wrist away from your face, so the hair flows over (not under) the iron.
To create the curl, you need to make sure the hair continues to wrap around the flat iron's barrel as you push the iron towards your ends. It's basically, like, the same technique you'd curl a ribbon with a scissor. Oh, and also a quick reminder: The smaller the section, the curlier your hair will be. So, if you want to switch it up and go for some super tight curls, part a section that's less than 1-inch.
Step 3: Work your way up towards your hairline

Keep working your way up towards your hairline with the flat iron. Don't forget to feed the hair into the flat iron a little higher than mid-length—this makes sure your curl starts closer to the top of your head and not just at the ends.
Step 4: Grab the section of hair at the hairline

Finish the right side off by grabbing the section of hair at the hairline, clamp the hair around the mid-length, then turn the iron away from your face. This hair is low-key really easy to curl, since hair near the hairline isn't ask thick as the rest of your hair.
Step 5: On the left side, start at your nape again
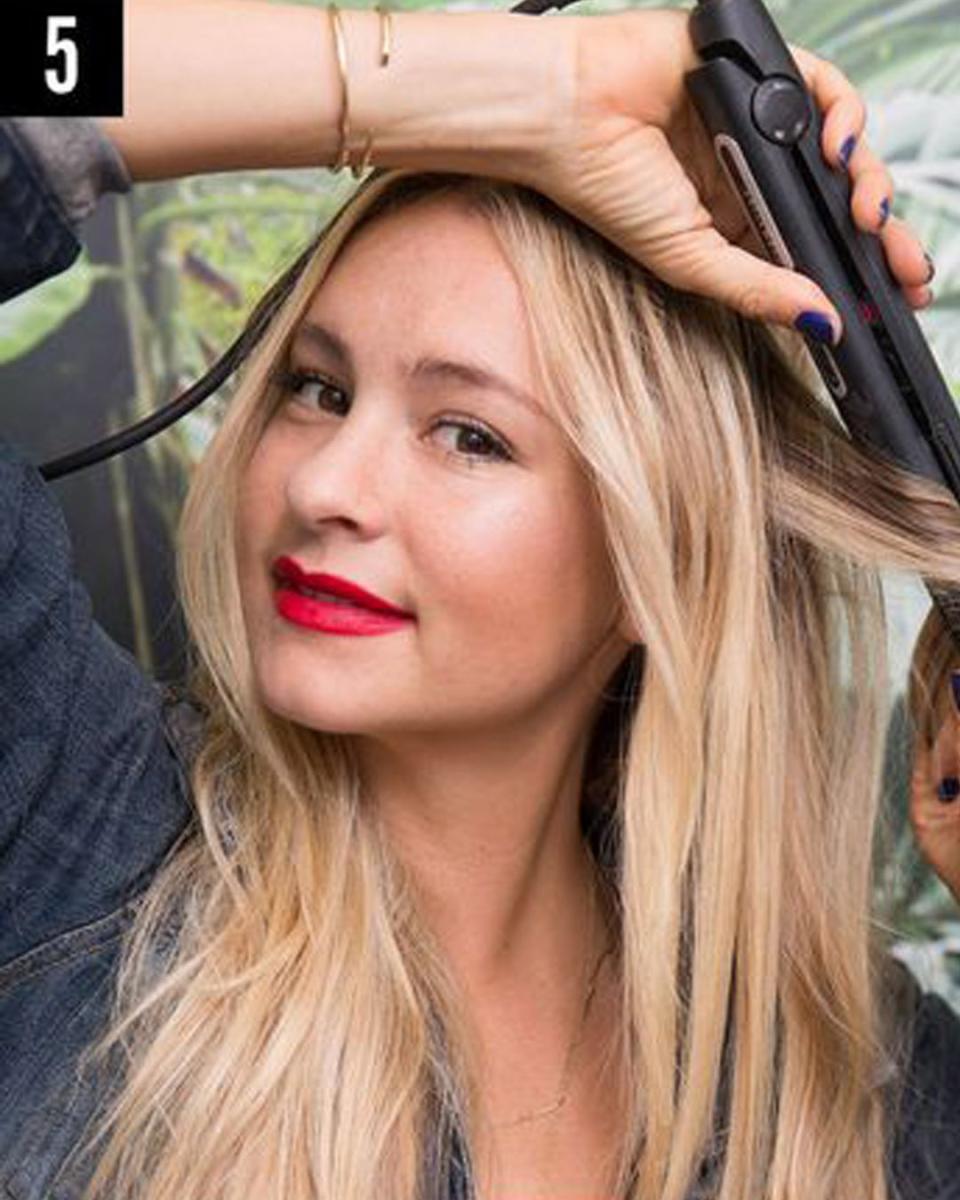
Repeat the second step, but this time on the left side of your head.
If you're right-handed, as you curl the middle section of your hair, your right arm will be reaching over your head and your fingers should be pointing toward the floor. This placement is normal (even though it might feels mad weird) and it’ll help control the iron better. As you move toward the ends, though, twisting your wrist away from your face, you'll find that your arm needs to cross in front of your face to reach the tips.
Step 6: Finish off with the hair at your hairline
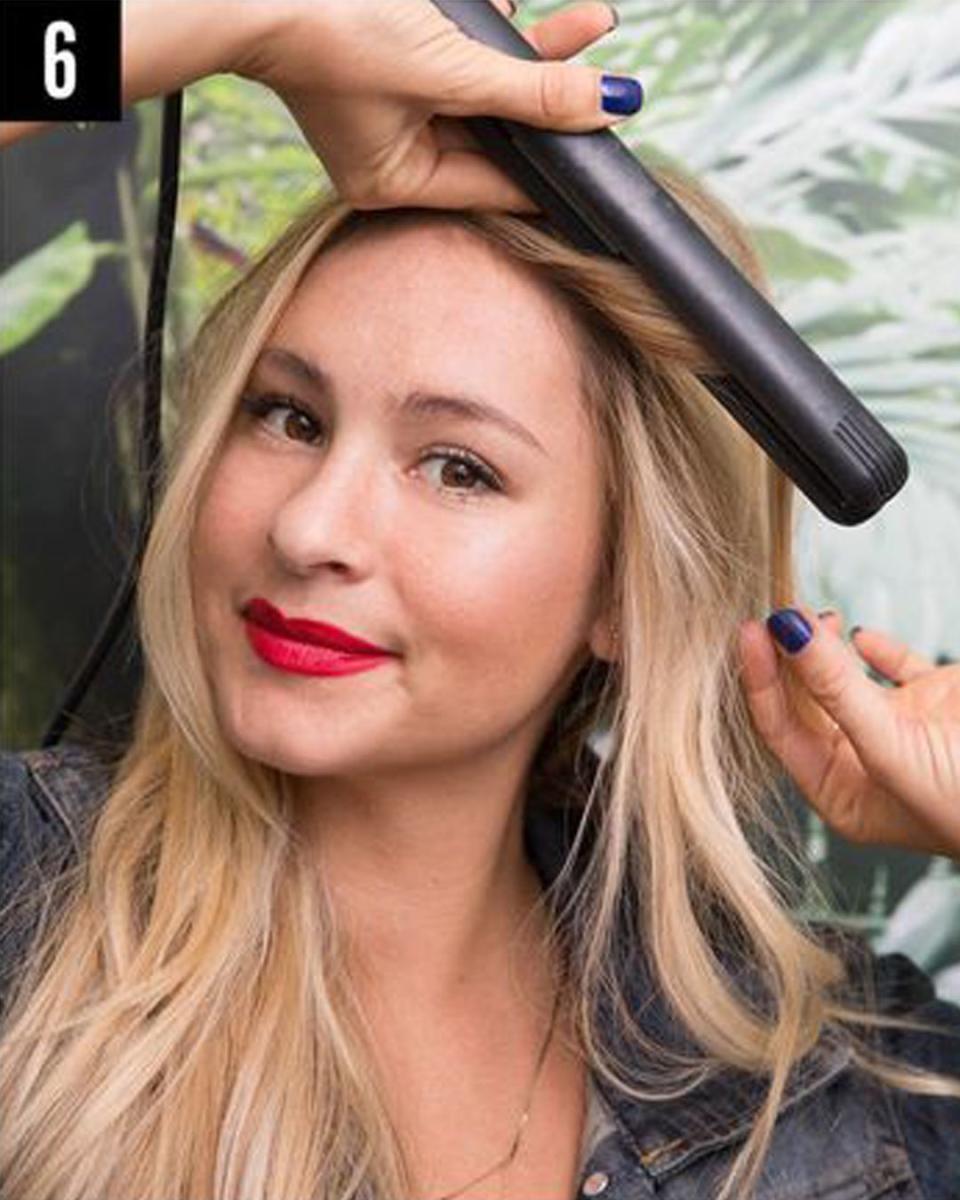
Repeat step 4 and finish off the hair at your hairline on your left side. (Again, you'll reach your right arm over your head and then bring it in front of your face to control the iron.) Be sure to run your fingers through the curls to break them up a bit — or you can even use a boar bristle brush for a more uniform finish if you don't like the separated spiral look.
Step 7: Spritz your hair with a hairspray

And that's it! You've successfully curled your hair with a straightener. Before you snap a pic, spritz your hair with a hairspray to make sure your curls hold.
You Might Also Like

