
Everything to know about acrylic nails – including how to remove them at home
I’ve always wanted to be that woman that, who, to paraphrase Swizz Beatz, has her hair done, nails done, everything did. But I've also always been aware of the grim stories that can come with getting acrylic nails, so, have long shied away from the salon and getting an I-have-my-life-together mani.
Until one day I just did it on a whim – and I have to be honest, I was beyond happy with the results. I opted for a bit of length in a squoval (square x oval) nail shape, to ease me into the world of acrylics and guess what? It really wasn’t as scary as I thought it would be.
The upkeep is minimal, but necessary, especially if you want your mani to last and your nails underneath to stay healthy. When you don’t have acrylics, small things that you should do for healthy nails become a necessity, like wearing gloves when you’re cleaning the flat, and keeping your hands and nails moisturised. Want #nailfie-worthy talons? You’re going to have to keep cuticle oil and hand lotion in your bag and on your bedside table.
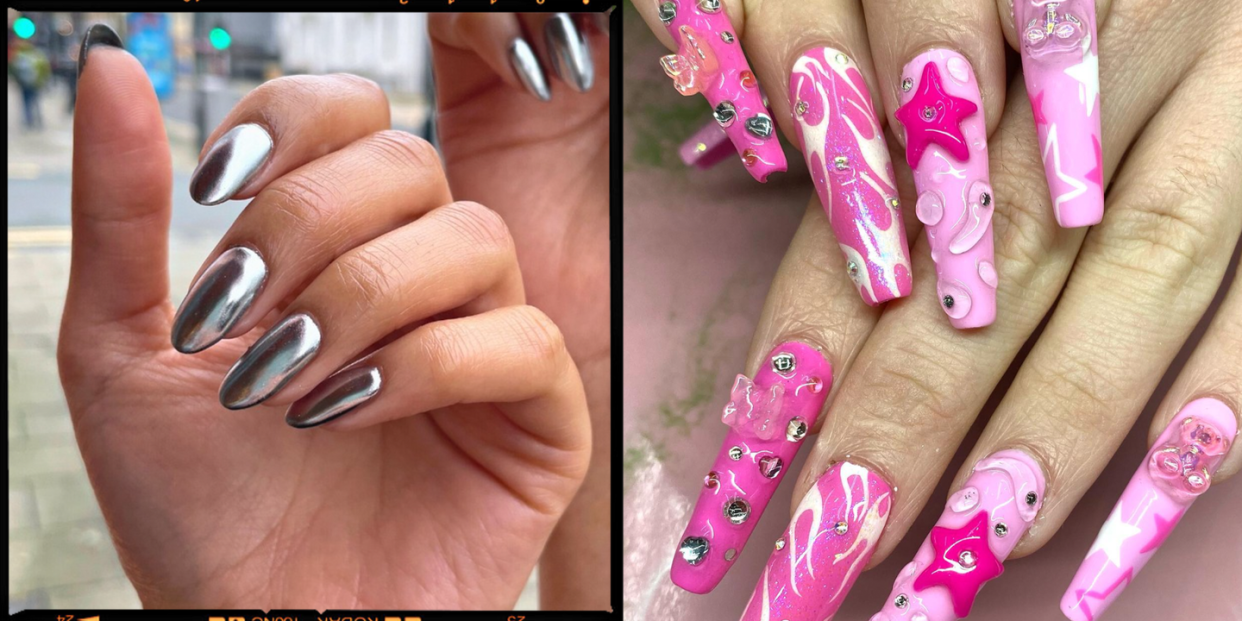
If you're considering taking the plunge, here's absolutely everything you need to know before, during and after getting acrylics. There are so many colours to choose from (I'm a sucker for neon nails) and when you’ve picked the perfect shade, you’ll have a field day selecting the cutest shape and nail art.
Follow the steps below, and I promise your manicure won't end up as a viral salon horror story.
1. Prep work is everything
It’s all well and good wanting acrylic nails but first, you need to make sure your actual nails can handle them. If you nails are brittle or weak then you need to get them back to optimal health before going near acrylics.
Ama Quashie, session manicurist and founder of AMA the salon, suggests jojoba oil as a natural strengthener. “Often a lot of nail strengtheners will have formaldehyde in them,” she warns. “A completely natural nail strengthener is jojoba oil – it's one of the only oils that the nail fully absorbs.”
2. Do your research
Did you know there are a million different options for false nails? Ok maybe not a million, but there's definitely a lot. Do you want powder dip, gel acrylics or sculptured nails? Salons usually offer one of these types of false nails, so if you’re set on a specific formula/application, be sure to check the salon menu prior to booking.
3. Decide on Nail Art - (Do your research part 2)
So, to the uninitiated you may see all these fabulous designs and assume a great salon would have great nail art, right? Not always. Many salons have limited nail art options, if you want a really snazzy design look on salons' Instagrams to see what level of art they offer. Nail art will usually need to be booked in advance, if it's a complicated design you've spotted on their page, it's best to book in with the individual who did that design – not everyone in one salon will have the same skill level.
4. Check the instruments
Sounds obvious, but it’s so important to make sure that the tools that your nail tech is using are sterilised before you start your appointment. Unsterilised tools can lead to nasty infections – which is not only a bit grim, but will also ruin the overall look of your manicure.
5. Don’t skip the manicure side
The significance of the manicure side of your appointment is two fold. Firstly, acrylics can’t stick to the cuticle, so if you don’t get them taken care of your brand new nails won’t last as long before they need redoing. Secondly, it looks so much neater. That’s all.
6. Decide on your shape and length
This is the most fun part of the appointment, along with choosing the colour. If you’re a complete newbie to nail shapes I’d opt for oval, because it’s the most classic shape. Then you need to decide on the length. Now, you might be tempted to go long but trust me, if this is your first time you will regret this – it’s much smarter to start short as you get used to having fancy nails, then get them filled in as they grow longer.
7. Take care
So now you have your shiny new nails, it’s time to protect them from getting completely wrecked by day-to-day life. We're always going to have to do the boring stuff like clean the shower and wash the dishes (ugh). So whenever you’re using any cleaning products, especially ones that contain bleach, make sure to wear gloves as they'll prevent the chemicals from messing with your mani.
8. Moisturise
Nails, meet your new best friend, cuticle oil. “Use cuticle oil religiously. Have a mini bottle in your handbag and apply as and when you have a spare moment, or if your nails look particularly dry,” advises Ama. This will keep your nails strong and the skin around them healthy.
9. Remove and rebalance with care
A lot of the damage associated with acrylics happens because of improper removal. Many salons have been known to use drills to file the acrylic off, but this will also remove layers of your own nail. For the best advice, Cosmopolitan UK consulted professional nail technician, Tinu Bello on how to best remove acrylic nails – which, FYI, is a whole other subsection of maintenance in itself!
How to best remove acrylic nails
For acrylic nail removal, many people will visit their nail tech for a professional take off, especially if you're a little less experienced in the art of the mani. However, with patience and the right tools, Tinu shares that it’s actually quite easy to remove acrylics at home. All it takes is a little patience, comfort and ease.
1. Use nail clippers to trim your acrylics as short as possible
This will make the removal process quicker and easier.
2. Use a nail file to gently file off the top layer of the acrylic
This helps the acetone penetrate the acrylic more effectively. You’ll know when this is done as it will no longer be shiny.
3. Apply a thin layer of Vaseline to the skin around your nails
This protects the skin from the drying effects of acetone.
4. Soak cotton balls or pads in 100% pure acetone
Ensure that they are saturated but not dripping.
5. Place the acetone-soaked cotton pads or balls on top of your nail
Then wrap remover foil wraps around your fingertip to hold the cotton in place. Repeat this for all of your nails.
6. Allow your nails to soak for about 20-30 minutes
You can check one nail to see if the acrylic is soft and starting to lift. If not, rewrap and wait a bit longer.
7. Remove the foils and cotton from each nail
After the soaking time, the acrylic should be soft and starting to come off.
8. Use a metal or wooden cuticle pusher to gently push off the softened acrylic
Be patient and gentle, and don’t force it. If it doesn’t come off easily, soak it a bit longer.
9. Buff and moisturise
Once all of the acrylic is removed, use a nail buffer to gently smooth out the surface of your natural nails. Acetone can be drying for the skin, so apply cuticle oil and a hydrating hand moisturiser to rehydrate your nails and skin, such as the SBC Sea Minerals & Blue Algae Hand Cream – SBC Skincare.
You Might Also Like

