Don't Break The 6 Golden Rules Of Cooking Steak

Steak is the Rolls Royce of food. Rich and luxurious, you can’t beat a perfectly cooked piece of ribeye. And while cooking steak can be simple, it’s also easy to mess up. Whether it’s overcooked, under-seasoned, or mysteriously dry even while still pink in the middle (how is that possible?!), a badly cooked steak is always disappointing. So how do you make sure you get it right?
As the developer of our cast-iron skillet steak recipe, I’ve cooked my way through pounds of steak and learned a lot along the way. For this story, I also chatted with Ashley Lonsdale, chef-in-residence at ButcherBox, to get her perspective. Here’s how to cook the best steak of your life—every time.
1. Choose the Right Steak
Picking a great steak might seem like a no-brainer, but there are several things to keep in mind. If you’re newer to cooking steak, Lonsdale suggests opting for a boneless cut. “It’s just a little less complicated,” she notes. “You’re not going to have to worry about the meat near the bone making contact with the pan.” She also recommends looking for a steak that’s at least 1 ½” thick, so you’re able to “get a crust” while also “getting the internal temperature exactly where you want it to be.”
You’ll also want to make sure you’re choosing a type and cut of meat that you’ll really enjoy eating. Ribeye and New York strip are both classic choices, but ribeye is much richer, while a strip eats slightly leaner but still delivers full beef flavor. Lonsdale also recommends going with grass-fed over grain-fed meat “for better flavor and nutrition.” It’s a lot to consider, but with a dish that’s so stripped back (pun intended), success largely rests on the quality of the product you’re using.
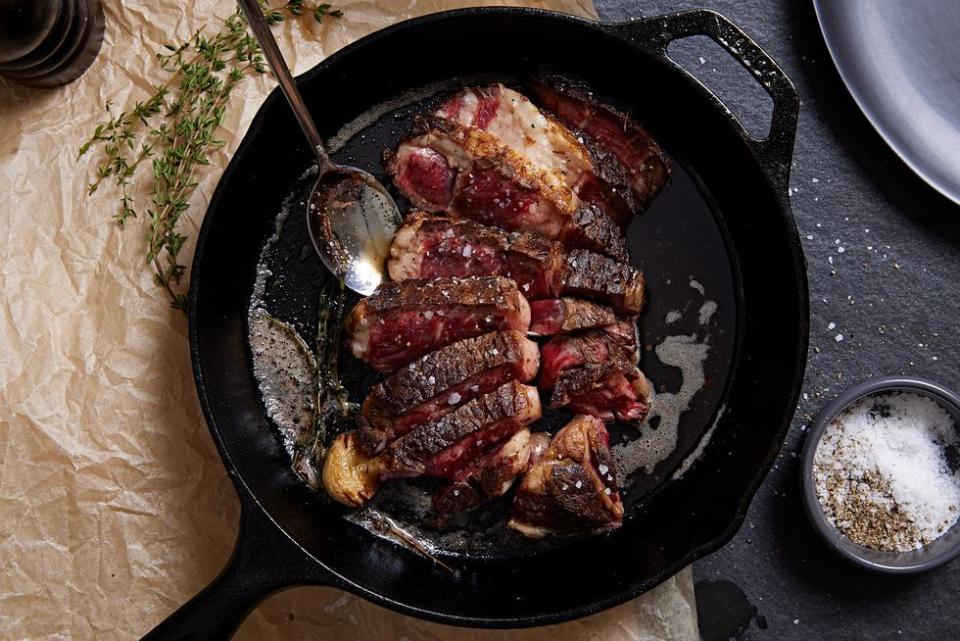
Cast-Iron Skillet Steak

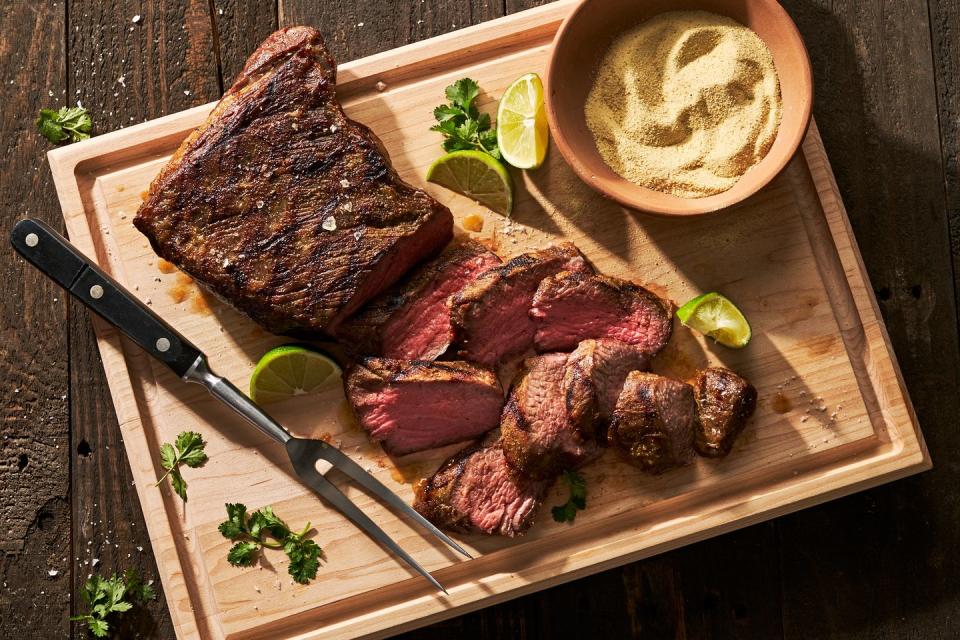
Grilled Tri-Tip

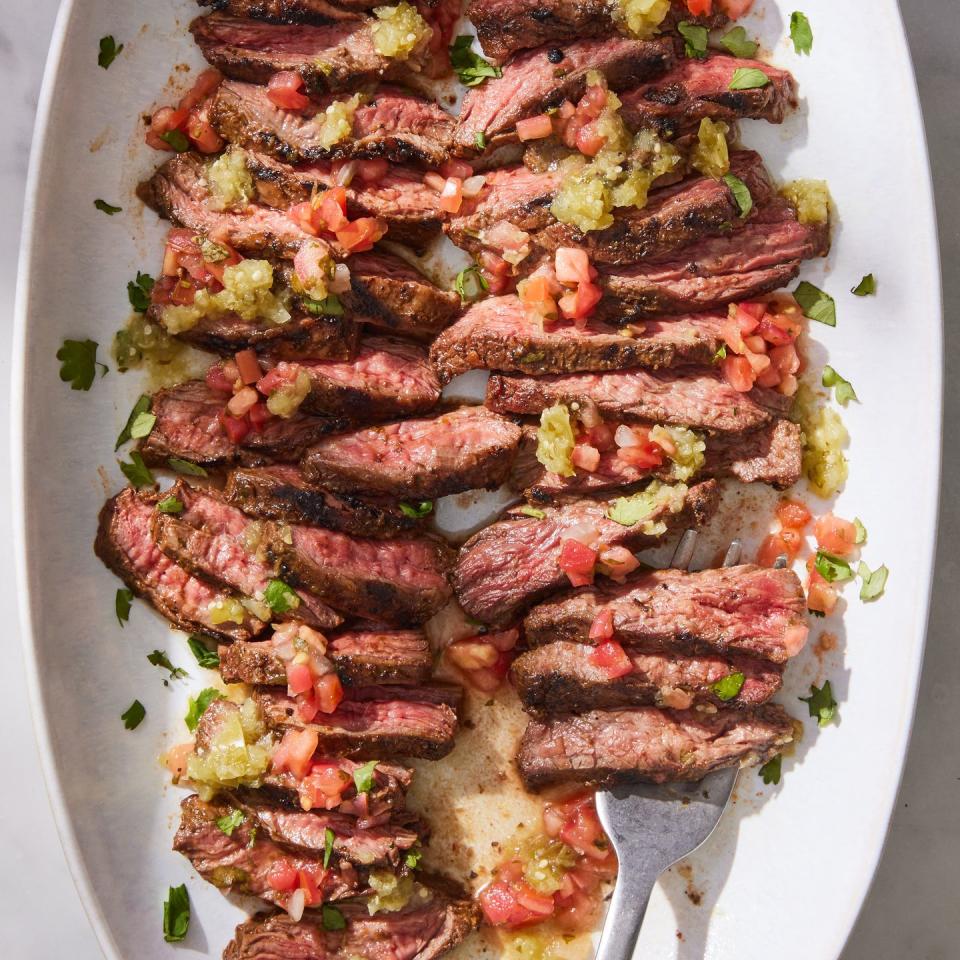
Carne Asada

2. Choose the Right Pan and Get It Screaming Hot
A great pan is key to getting a caramelized crust on the bottom of your steak. A large metal pan works, but cast iron is even better. According to Lonsdale, cast iron is ideal because “provides a really even heat” and also retains that heat: two factors which will lead to a “beautiful crust on your steak.”
Whichever pan you use, set it over medium-high heat and get it very hot before you even think about picking up that steak. The oil in the pan should be shimmering across the surface, and the meat should sizzle loudly when it hits the pan, signaling the start of a fantastic sear. If you put the steak in the pan and the sizzle sounds more like a whisper, yank it out quickly and wait for the pan to heat up some more.
3. Let It Be
Searing anything is a masterclass in patience. You want to move the steak, you’re dying to move the steak, but you CANNOT move the steak or you’ll disturb the formation of that gorgeous crust. Resist the urge to touch the steak for at least four minutes. After that, you can gently lift the very edge with your tongs and peak underneath. The steak should be deeply browned on the bottom. If it’s not, let it ride for another minute, and check it again. Don’t flip until you’re sure you’ve got that perfect sear.

4. Give It a Brown Butter Bath
Full disclosure: you don’t have to do this. But if you’re cooking the best steak of your life, you wanna give it the love it deserves. So to really hone in on maximum flavor, I highly recommend finishing your steak in the last few minutes of cooking by basting it in some garlicky, herby brown butter. Lonsdale agrees: “The flavor of the butter helps to reinforce the crust...I think there’s nothing better.”
To get the butter bath started, add a large hunk of butter (we’re talking 2 tablespoons minimum) to the pan along with a few crushed garlic cloves and a sprig of herbs (Lonsdale and I both prefer thyme, but you do you!). Grasp the pan handle with an oven-gloved hand, tilt that pan slightly toward you, and use a large serving spoon to spoon that butter pooling in the bottom of the pan up and over the steak. It’ll foam a little, and that’s okay. Don’t stop spooning it until the steak is absolutely shimmering.
5. Get Out the Thermometer
You know that whole “touch the steak to check if it’s done” thing? Don’t even think about it.
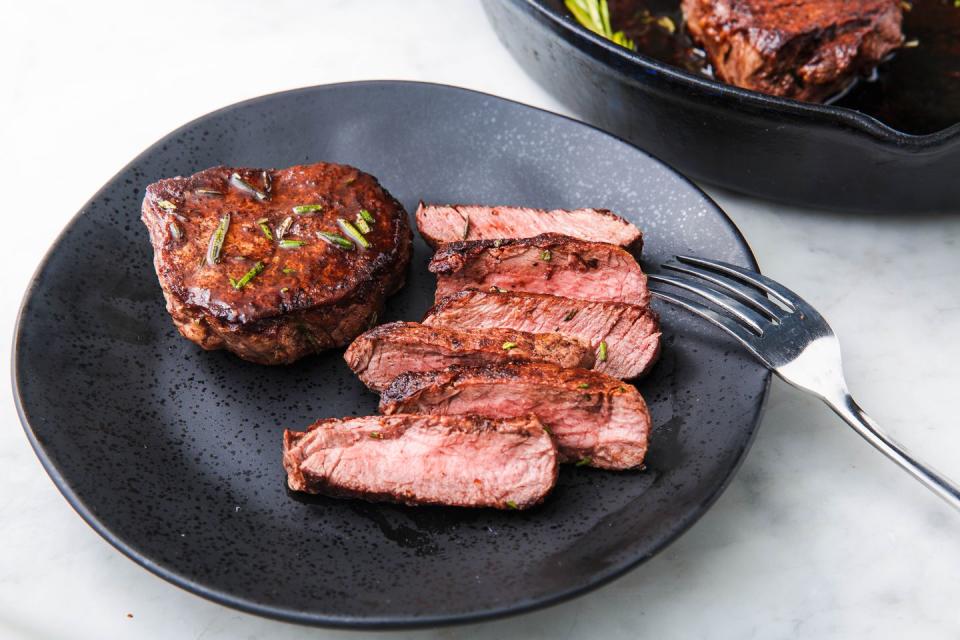
Unless you’re a professional chef who’s worked at Peter Lugers for the last 20 years, the best way to check if a steak is done is to check it with a thermometer. I personally like to pull my steak between 125 and 130 degrees so it rests up to a perfect 135 medium rare as it sits. If I’m giving it the brown butter spa treatment, I’ll usually make sure it’s temping around 120 before I add the butter. Is a probe thermometer glamorous? No. Does it guarantee you’ll end up with a perfectly cooked steak? Yes.
6. Let. It. Rest.
This is crucial. You MUST wait at least 10 minutes to slice into your steak after you pull it from the pan. According to Lonsdale, this resting time “allows the muscle fibers to relax and the juices to redistribute within the meat.” This way, the steak will retain maximum moisture and won't flood its best flavor onto your plate when you cut into it. You’ve just cooked the best steak of your life: you want to be able to enjoy every bite to the max.
You Might Also Like


