For a winter gardening project with a gourmet touch, try growing microgreens
Microgreens have been popping up as garnishes at high-end restaurants, but they’re more than just a gourmet trick of the trade.
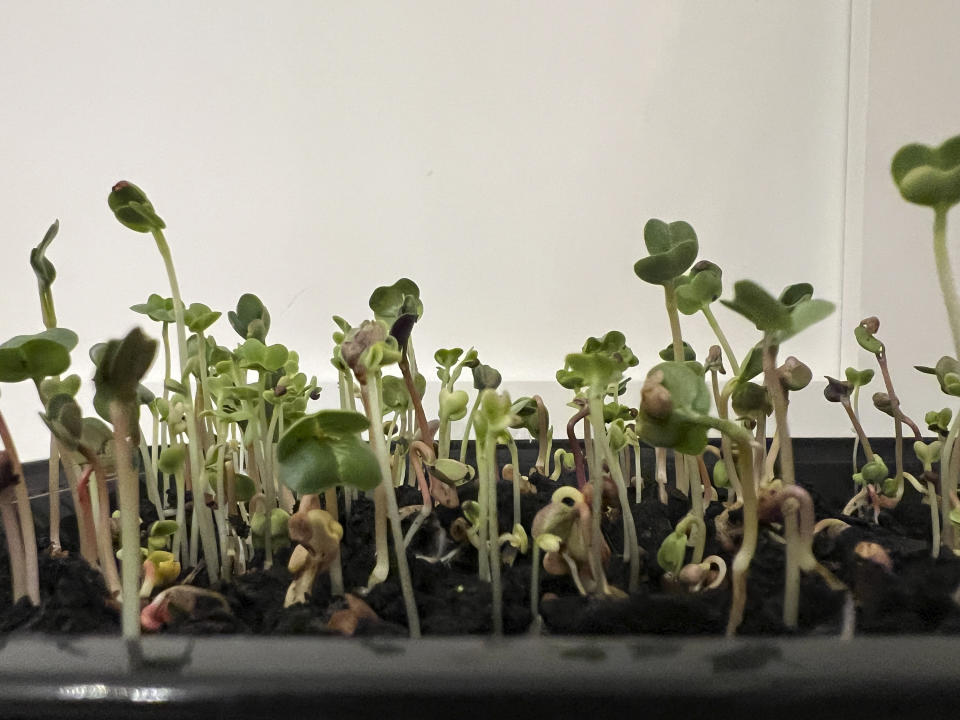
The 2-to-3-inch seedlings of edible plants, which add a burst of color and flavor to food, are packed with nutrients and can make for a fun winter gardening project.
At an average retail price of about $30 per tray, the little nutritional powerhouses can be prohibitively expensive to buy. But growing your own at home is cheap, quick and easy.
You’ll need a dome-covered seed-starting tray, or a roughly 2-inch-deep plastic lidded takeout container with holes poked in its bottom for drainage; a drip tray or rimmed baking sheet to collect drained water; seed-starting potting mix; a spray bottle; a sunny window and, of course, seeds. A grow light and a small fan are recommended but optional.
WHICH SEEDS?
Many catalogs and garden centers sell mixed microgreen seed packs that contain a variety of seeds selected and combined for their synchronized germination times. You can buy those or mix your own batch from new or leftover seeds. Or grow just a single variety. It’s up to you.
If mixing seeds yourself, select ones that will sprout at the same time. Arugula, broccoli, cabbage, kale, mustards, mizuna, nasturtium and radish are among the fastest growers, typically germinating in a week or less. Beets, chards and nasturtiums should sprout in 10-14 days, while parsley and dill can take up to three weeks.
Do not grow microgreens of nightshade vegetables, such as eggplant, ground cherry, pepper, potato, tomatillo or tomato. Their leaves contain toxic alkaloids, so should not be consumed.
WATCH THEM GROW
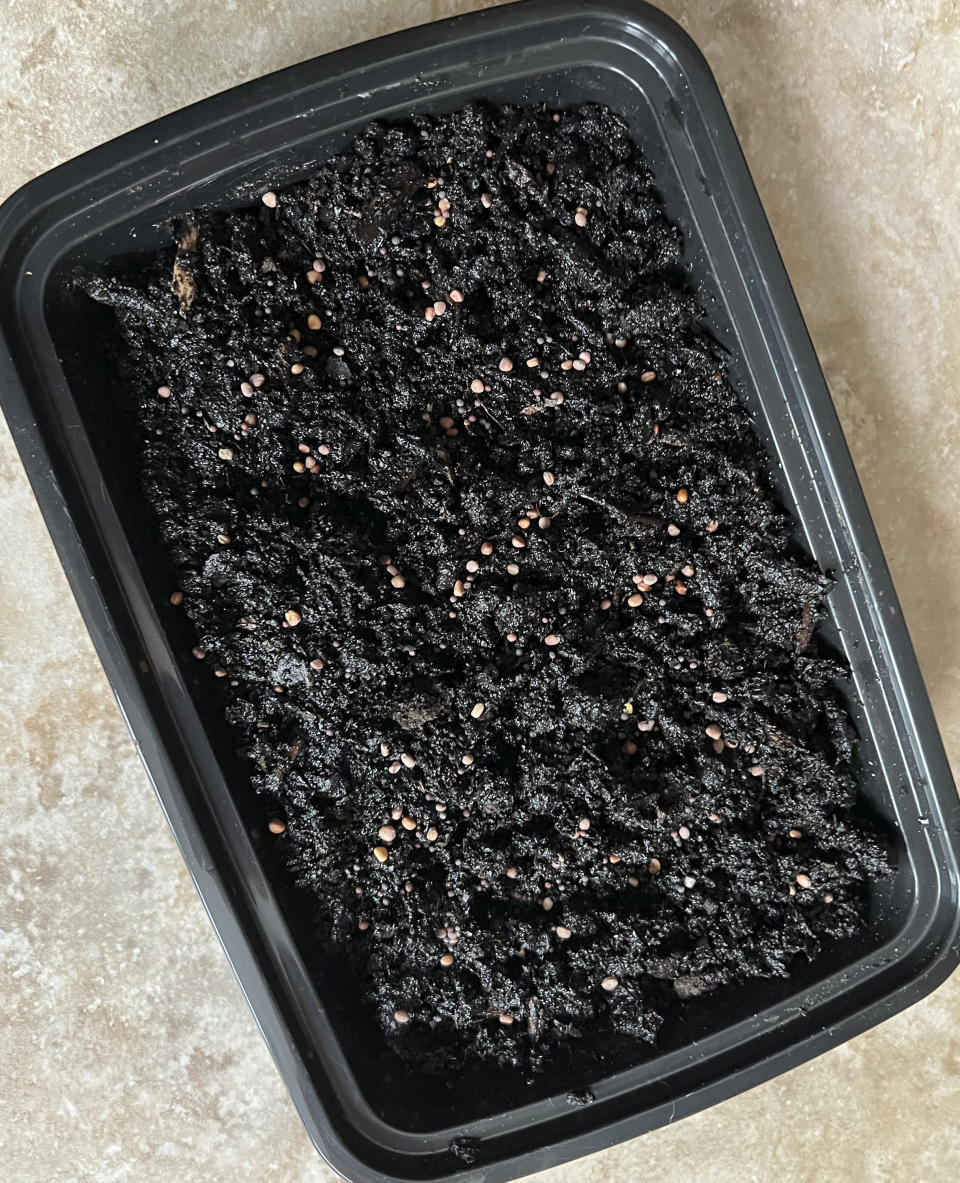
Fill your seed tray with the seed-starting potting mix and moisten it with water, then sprinkle a moderately dense layer of seeds over the mix. Press them into the soil with your fingers but don’t bury them.
Spray the seeds and the soil’s surface with water, then place the domed lid or plastic cover over the container, slightly askew. If you don’t have a lid or cover, lightly lay plastic wrap over the tray. Do not seal it tightly.
Place the planted tray on a drip tray or rimmed baking sheet in a warm, 65-to-70-degree room. Mist daily to keep the soil lightly but evenly moist. Alternatively, you can add one-half inch of water to the drip tray and allow the soil to soak it up through the container’s drainage holes; if water remains in the tray at the end of the day, dump it and use less next time.
When seedlings sprout, remove the cover and place the tray directly in front of your brightest window or under grow lights set to run for 16 hours daily. Continue misting the soil surface once a day or bottom watering as needed to keep the soil moist but not soggy.
Running a small fan nearby is optional but would help prevent mold and mildew, which could destroy your crop.
Within a few days of sprouting, you will notice the appearance of cotyledons, or “seed leaves,” which are usually generically oval. The plant’s first distinctive true leaves will appear shortly after, signaling it’s time to harvest your microgreens.
A MICRO HARVEST
Using sharp scissors, clip stems just above the soil surface, and enjoy your homegrown microgreens over soups and salads or in sandwiches, smoothies and stir-fries.
Then, sprinkle more seeds over the soil to grow your next crop.
___
Jessica Damiano writes a weekly gardening column for the AP and publishes the award-winning Weekly Dirt Newsletter. You can sign up here for weekly gardening tips and advice.
___
For more AP gardening stories, go to https://apnews.com/hub/gardening.


